Easter Candle DIY
You’ll need:
-3 cream or white pillar candles (3×6 or 3×9 standard size). I picked ours up at Walmart. You can find it at most retailers near you.
-Wax paper
-White tissue paper, the kind you stuff in gift bags
-Tape
-Scissors
-Blow dryer
-Printed design templates (click an option below to download)
Now the how-to:
- Download the latest Easter Candle DIY Templates (see above)
- Tape tissue paper on a regular-sized piece of printer paper. Load that tissue layered piece of paper through the printer and print the template onto it.
- Cut out the image, leaving a little margin all the way around.
- Layer a piece of wax paper over the design. Cut a piece of wax paper long enough that it wraps all the way around to the back of your candle. Then line up your template on your candle, holding it in place with the wax paper.
- Turn your blow dryer on to the highest heat setting. Holding the dryer close to the candle, apply direct heat to the design. As the candle wax heats up, the tissue paper backing will begin to fade. Be patient. Keep applying heat until the tissue paper completely dissolves, about 3-5 minutes.
- Once the tissue paper is completely transparent. peel back the wax paper to reveal your very own Easter table candle!
- Repeat the same steps for each of the three candle designs.
- Decorate your table with your hand-crafted work!
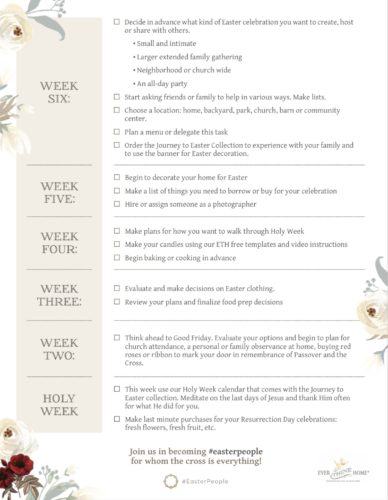
Easter Checklist
Easter Gathering Invitation
For more ideas check out our Easter Collection Pinterest Board!


